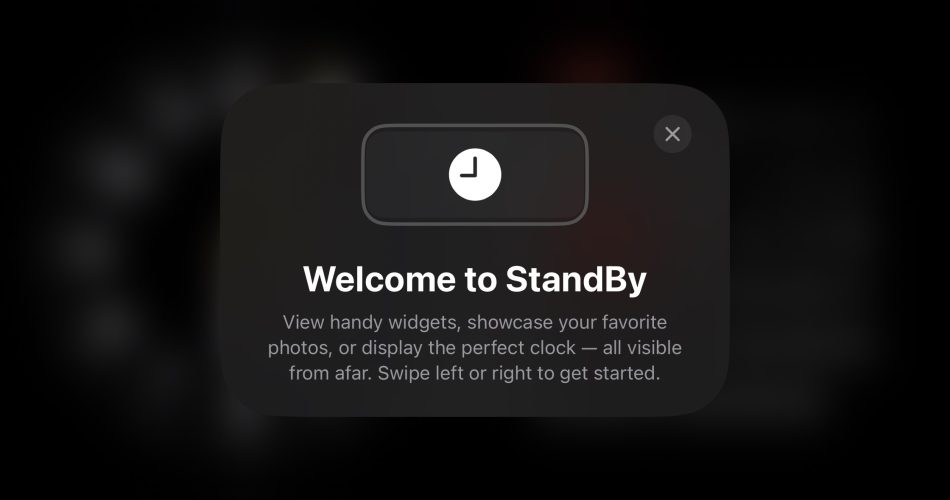
StandBy Mode is one of the most exciting features of iOS 17. It enables your phone to turn into a smart display when placed in horizontal mode during charging. With StandBy Mode, you can check current dates and times, incoming calls, Siri responses, and other glanceable information with a full-screen experience.
This mode makes your iPhone perfect for your desk, nightstand, or kitchen counter. Wondering how to use the StandBy mode on iOS 17 and unleash the maximum potential of your device? Scroll down the page and see how this new and exciting feature lends more functionality to your iPhones when they are not in use.
What are the steps involved in using the StandBy Mode on iOS 17?
Since you have ended up on this hands-on guide, we assumed that you know everything about the StandBy Mode and how to enable it. Hence, we are directly jumping to the stepwise instructions to use this mode and make the most out of your device. Let’s get into it.
- Enable the StandBy mode using your settings tab and place the iPhone in landscape mode. Plug into the charger, either wired or wireless (wireless preferred).
- Ensure your iPhone is locked. Once you place the iPhone in the right position, its StandBy Mode will be enabled automatically, and you’ll be welcomed with a cool display screen.
- At first, you’ll see a default StandBy mode reflecting a calendar widget and an analog clock. However, you can customize the view based on your preferences.
Can I Customize the StandBy Mode? If so, How?
Yes, you can add a personalized touch to the StandBy mode by using the options mentioned below. There are three options to choose from – Photos, Widgets, and Clock. Pick any of these options and customize the display screen in no time.
Here’s how to do so.
Widgets
The smart display of the StandBy mode by default shows the analog clock and calendar widget. You can swipe left or right to modify the view. Besides, you can add several other widgets of your choice, including reminders, upcoming events, weather updates, and more. You can also control your HomeKit devices with this smart display screen.
Follow the instructions below to add Widgets on StandBy mode.
- Press and hold the clock or calendar (which comes by default) to remove or add StandBy widgets.
- Click the minus (-) button on the top-left of the widget to remove it from the screen. Similarly, tap the Plus (+) icon to add a new widget.
- If you don’t know which one to add, then find widget suggestions in the left pane or find your favorite option using the search bar at the top.
Clock
Not interested in Widgets? Don’t worry and swipe left, and the Standby Mode will start reflecting you a customizable, analog clock. This mode offers five different clock styles at the moment, and you can select among them by simply swiping up and down on the current clock style. Alternatively, you can also just press and hold the click style you want to set it on the smart display screen.
Photos
Besides clocks and widgets, you can also select Photos StandBy iOS. It displays photos and videos from the Photos app on your iPhone. Swipe left to turn your iPhone into a live photo album.
Conclusion
That’s all, readers. Hope our research helps you make the best out of the StandBy mode. This cool feature is going to launch with iOS 17 and will make your iPhone more useful than ever before. Make sure the phone is charging and kept in landscape mode with the display locked. In case of queries, feel free to connect with us in the comments below.

