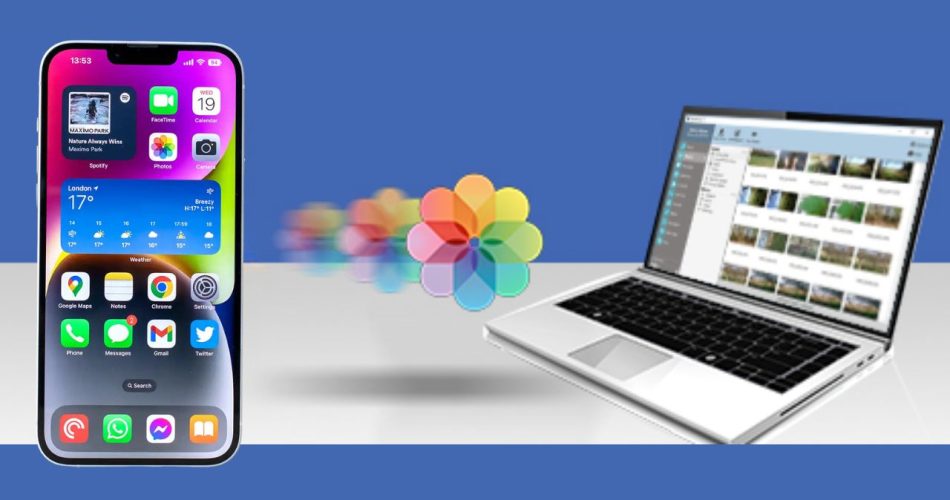
Many new iPhone users complain about the complexity of transferring photos from iPhones to laptops. If you use iCloud Photos, everything becomes easy as you need to sign in to iCloud.com in the web browser on a computer, and you can download the photos you would like to transfer.
However, this requires a stable Wi-Fi connection and an iCloud+ subscription. There are also free and easy ways to transfer images from iPhones to laptops, regardless of the operating system. Here’s how to transfer photos from your iPhone to any laptop.
Check: How to Get Nulls Brawl on iPhone?
How to Transfer Photos from an iPhone to a Windows Laptop
For Windows 10 laptops, you can use the Photos app to import images directly from your iPhone with just a USB cable.
What You Need
- iPhone with photos to transfer
- Windows 10 laptop
- USB to Lightning or USB-C cable
Step-by-Step Instructions
- Connect your iPhone to your Windows laptop using the appropriate USB cable.
- Open the Photos app on your laptop.
- Select “Import” and choose “From a USB device.”
- Your iPhone will appear as an external device. Select the photos you want to transfer.
- Choose “Import selected,” and your photos will be copied to your Windows Photos library.
You can also use the iTunes sync option if you have iTunes installed. Connect your iPhone, open iTunes, select your device, go to the Photos section, and check “Sync Photos.” Click “Apply,” and your images will transfer.
How to Transfer Photos from an iPhone to a Mac Laptop
Importing photos from an iPhone to a Mac could not be easier using the Photos app and a USB cable.
What You Need
- iPhone containing photos
- Mac laptop
- USB to Lightning or USB-C cable
Step-by-Step Instructions
- Use a cable to connect your iPhone to your Mac.
- Open the Photos app on your Mac. It should automatically detect your connected iPhone.
- In the sidebar, select your iPhone under the Devices heading.
- Select the photos you want to import using Command-A to select all.
- Click the Import button at the bottom right to transfer your photos to your library.
You can also use AirDrop for quick wireless transferring. Just make sure both devices have AirDrop enabled and are close together.
How to Transfer Photos from an iPhone to a Linux Laptop
Importing images to a Linux laptop takes a few extra steps but works reliably once set up.
What You Need
- iPhone with photos
- Linux Laptop
- USB to Lightning or USB-C cable
- iFuse installed
Step-by-Step Instructions
- Install iFuse on your Linux system to allow communication with iOS devices.
- Connect your iPhone to your Linux laptop with the USB cable.
- Open your file manager and locate the connected iPhone as an external drive.
- Browse and select the photos you want to transfer from your iPhone.
- Drag the image files to copy them to your preferred folder on your laptop.
For automated importing, you can also use an app like gThumb. Install it, connect your iPhone, open gThumb, and use the import wizard to copy photos over.
Important Tips for Smooth Transfers
- Organize your photos into albums on your iPhone before transferring for easier importing.
- Check your iPhone import settings to enable automatic transfers while connected.
- Use original file names when transferring for proper organization.
- Save transferred photos to a dedicated folder or image library on your laptop.
- Eject and safely disconnect your iPhone after each transfer session.
- Back up your iPhone to your laptop periodically for full photo archives.
With the right cable, app, or built-in tool for your operating system, you can swiftly transfer images off your iPhone to gain more storage space and create backups. Carefully selecting your transfer method prevents losing precious photos along the way.

