
Have you recently switched to Apple and need help figuring out the process of creating an Apple ID? In that case, you have landed the rightmost link, as this guide has covered everything you need to know.
An Apple ID holds special importance and is a must-have for any new or existing Apple users to experience the maximum potential of the iOS ecosystem. It is unique for everyone and gives access to the App Store, iCloud, iTunes, and all other services that Apple offers.
See More: How to use Photoshop on your iPhone?
But how to create an Apple ID login? While the process is simple and effortless, it might sometimes confuse new users, who often end up with a big-time mess. Hence, we have compiled a step-by-step guide about creating an Apple ID in a few simple taps. Ahead, we have also mentioned the instructions to retrieve your Apple ID and password in case you forget them.
Without further ado, let the tutorial begins.
Apple ID – A Quick Introduction
Since you have ended up on this write-up, we can assume that you are already acquainted with the term “Apple ID”. Therefore, we’ll just give a brief introduction of the same to facilitate our new readers.
When using Apple devices or Apple services, it is Apple ID that makes things more streamlined and convenient. It is basically your Apple account that identifies you as an Apple user. With Apple ID, you can easily access all Apple services with a swipe of your fingertips.
Simply put, Apple ID validates your identity and is required whenever you activate your iOS device to keep everything synced up. It is unique for every user and is accompanied by a passcode. Making Apple ID is completely free and simple. All it requires is an Apple device and a stable internet connection.
Create Apple ID Login – A Step-by-Step Guide
Now that you are aware of the basics, let’s simply jump into the process of creating an Apple ID on your iPhone or iPad. Stick to the instructions below and complete the process easily.
- Kickstart the process by launching the web browser on your device.
- Visit the Apple website, or you can navigate to the URL appleid.apple.com.
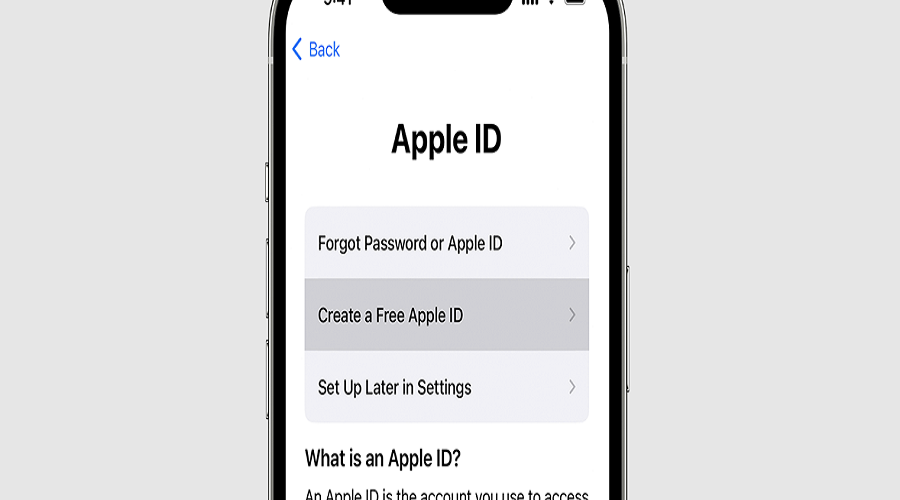
- Tap “Create your Apple ID” and follow the on-screen instructions to get started.
- Here, you will be prompted to enter some personal information, like an email address.
- Moving on, create a new password that adheres to Apple’s password standards. Keep this passcode safe, and never share it with anyone.
- Check the boxes to subscribe to Apple updates (optional).
- Once you are done creating your Apple account, move further to Payment & Shipping if you want to buy things from Apple App Store. Otherwise, skip this step and scroll up to hit the blue Save button.
- Follow the on-screen instructions to verify your email address and phone number, and it’s done.
Can I Create an Apple ID using Windows PC?
Yes, definitely. If you have ordered your iPhone and it is still on the way, it’s good to generate your Apple ID beforehand to avoid wasting time when your phone arrives. Here’s how to create an Apple ID using Windows PC. Follow the instructions carefully.
- Launch any modern and updated web browser and open iTunes for Windows.
- Go to the top of the screen and expand the menu bar.
- From there, you must select Account > Sign In and then tap the “Create New Apple ID” option.
- Follow the on-screen instructions and add a valid email address.
- Set a strong password and select the device region. Remember that the email address you provide will be your new Apple ID.
- Further, you must enter the credit card and billing details. Don’t worry, you won’t be charged for creating an Apple ID. These details are added to streamline your future purchases, if any.
- Click the Continue button and finally verify your email address. The process of creating an Apple ID using a Windows PC completes here.
A Step-by-Step Guideline to Creating an Apple ID on Mac
Do you already have Mac? Then why struggle when you can easily create your Apple ID with a macOS device?
Below are mentioned the steps to do so.
- Turn on your Mac and select Apple Menu.
- Visit System Settings or System Preferences (if you are using earlier versions of macOS).
- Tap the “Sign In with your Apple ID” option available in the sidebar.
- You will then find the option saying “Create Apple ID”. Click on it and follow the prompts to initiate the process.
- Enter a valid email address, create a strong password (must follow Apple’s Password Standards), and set your device’s region. It’s vital to choose the correct region, as some Apple services are based on this choice.
- Finally, you’ll be redirected to enter the billing info and click Continue.
- Verify your email address, and you are now ready to access all Apple services using your Apple ID.
What if you forget your Apple ID or Password?
Well, in that case, you can easily reset your Apple login credentials using the steps below. Apple understands the human tendency to forget things; hence, it offers them a chance to retrieve their login info in a few simple clicks.
Here’s how.
- Open your Mac and visit Apple Menu.
- Click System Settings and tap on Sign in with your Apple ID at the top of the sidebar.
- Select Forget Apple ID or password and follow the on-screen instructions to reset these credentials.
Besides Mac, you can perform these steps on your iPhone as well. Visit Settings > You Name > Password & Security > Change Password. Follow the further on-screen instructions and reset your login info easily.
Conclusion
Apple ID is a core of your place in the Apple ecosystem; hence, it is mandatory to create one and keep it safe for good. It links users to services like iCloud and Find My while providing further authentication to other subscriptions, including Apple TV Plus and Apple Music.
Fortunately, creating an Apple ID login is simple and can be completed without seeking any professional assistance. Once you are done with the Apple ID setup, you can easily sync information across all Apple devices, make purchases via App Store, and unleash the complete potential of the Apple ecosystem.