
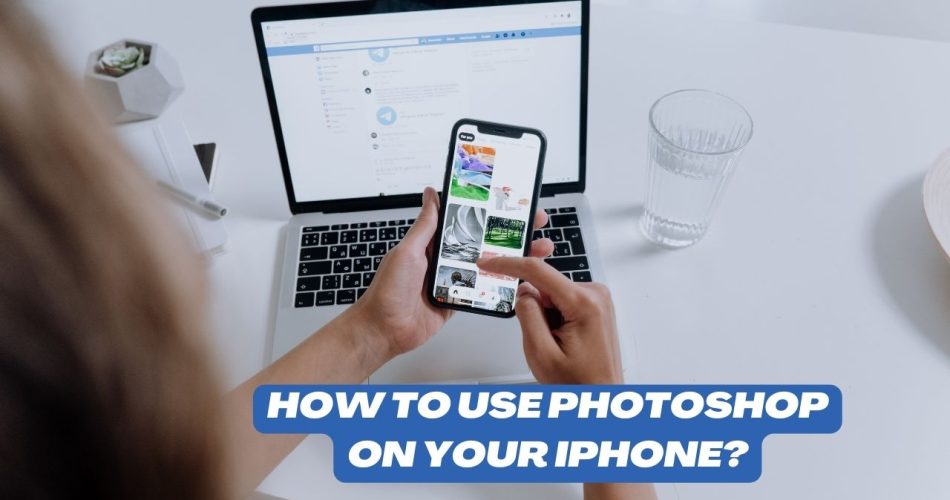
Editing a photograph is an art, and anyone can master the technique with the right tool in his arsenal. One of the best solutions that may help you add life to your photographs is Photoshop. This app isn’t bound to any special introduction and is by far the most popular and reliable photo-editing application available on the internet.
However, using this software to edit your images isn’t as simple as it may sound. Photoshop is all about technicalities and thus requires a graphic expert. If you have recently dipped your toes into editing and need help figuring out how to use Photoshop on your iPhone, this guide must captivate you.
Here, we’ll discuss the step-by-step instructions to use the Photoshop app on iPhone. So, are you ready to browse? Scroll down and follow the guidelines religiously.
Also Useful: How to find blocked numbers on iPhone?
A Quick Introduction to Photoshop Express
You must be wondering why we have mentioned the “Photoshop Express” instead of Photoshop. Don’t be impatient, as we’ll discuss everything before slipping into the final steps.
It’s undeniable that Photoshop is primarily available and Windows and Mac devices, making it ultra-challenging to use on iPhone. Therefore, to make things simple, Adobe has recently launched a free mobile app, in the name of Photoshop Express. It is launched to make quick, powerful, and easy photo edits on your iPhone without putting in much effort.
The app features instant filters called Looks while allowing you to select from an array of adjustment and correction options to bring your images to life. Moreover, the app lets you share photographs directly on social media. Besides, Photoshop Express provides you with various themes you can apply to your images and customize the text. So, why wait? Download Photoshop Express on your iPhone from the App Store and get started.
Photoshop on iPhone – A Step-by-Step Guide to Follow
Now that you know the basics of Photoshop Express, let’s move on to the step-by-step guidelines for using it on your iPhone. The process is straightforward and can be carried out even if you don’t belong to a technical or design field. Read on and take notes.
Step 1: Install Adobe Photoshop Express
- Let’s begin with the obvious. Open the Apple App Store and locate the Photoshop Express app.
- Click the Get button and install the app on your device. It’s available for free, so you can count on it in your hour of need.
- You’ll be notified with a pop-up once the app is installed. You are now ready to go.
Step 2: Add the Photo to Edit
- Go to the iPhone’s home screen and locate the Adobe Photoshop Express icon. Click to launch it.
- Now, tap the plus icon located at the bottom of the screen and import a photo you wish to edit. It will take you to the albums, so you can select the photo. Alternatively, you can capture a new image and import the same.
Step 3: Start Editing
- Once you are done importing your photograph, you can start editing the same. Photoshop Express offers a wide array of editing tools that you can use to enhance your photos.
- A few of them are exposure, saturation, resize, crop, sharpen, etc. Select the respective icons and start using these tools right away.
- As soon as you select the editing tool, proceed further to make the desired edits to your photo.
Step 4: Save the edited image
- After you’ve made the necessary edits, you can now save your edited photo by tapping on the “Save” button located at the top-right corner of the screen.
- You can also share the edited image on social media using the Share button.
How to Apply Looks Using Photoshop Express?
As already mentioned, Photoshop Express packs an array of instant filters known as Look s. These eye-popping effects add life to images. You can also control their intensity using the slider and select your desired effect on the go.
Here’s how you can create and save your Customized looks. To do this,
- Launch the Photoshop Express on your iPhone and go to the My Looks panel.
- There, locate the Add button from the menu and type a name.
- Finally, click Save Look button, and it’s done.
How to Apply Themes Using Photoshop Express?
In addition to instant filters or Looks, Photoshop Express also allows you to select a wide array of themes. Besides you can also customize the text to add more creativity to your images. The best part – you can not just use the default themes but also create a new one.
Follow the instructions below to create and save your customized themes for future reference.
- Launch the Photoshop Express on your iPhone or iPad and go to the My Themes section.
- There, you must click the Add button and enter a name for a theme you want to select. Alternatively, you can browse through the options available.
- Finally, tap Save Theme and make it handy for all your future editing projects.
Conclusion
That’s everything you need to know about using Adobe Photoshop Express on your iPhone. Hope this guide helps. Basically, this app is nothing but Adobe’s version of Photoshop for mobile phones. This tool helps you customize your images by adding text, filters, themes, sharpening effects, and much more to create an edited version finally. The best thing is that the app comes nicely packed with many in-built tools to make photo editing a breeze.
Thanks for being with us, and keep visiting the page for more such iPhone-related guides.