
Long gone are the days when people used to go out and submit essential documents manually. The advancement of technology has confined everything to your laptop or mobile, thus eliminating the hassle of moving out. From grocery ordering to shopping to uploading digital files, you can do almost everything from the comfort of your couch.
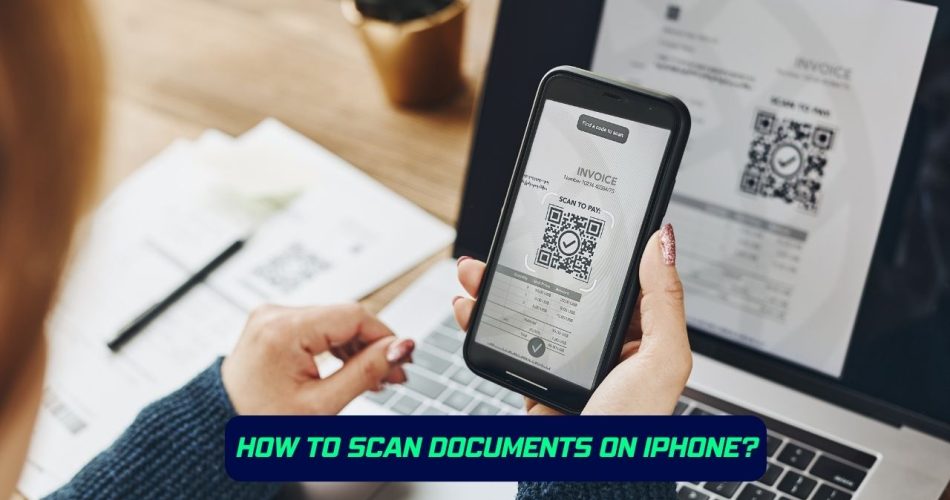
While shopping and ordering food is quite straightforward, uploading documents might require scanned files. Now here the question arises – how to scan documents on your iPhone? Do you need a third-party app, or is there an in-built app scanner on your Apple devices?
Also Interesting: Does iOS 17 have a new Control Center?
Don’t worry, you are not alone in battling these queries. Therefore, we have compiled this ultimate guide on how to scan documents on iPhone in order to melt away your doubts and dilemmas in a jiffy. So, what’s restricting you? Continue browsing the page to the end and learn different methods to scan your important papers at your fingertips. Let’s get rolling.
Scan your documents on iPhone – 3 Simple Methods
Don’t waste any further seconds, let’s find out 3 simple solutions to scan your documents on your iPhone instantly. Scroll through them and pick any of these based on your requirements.
Using iPhone’s Notes App
The simple and probably the most effective method to scan your documents on your iPhone is the Notes app. It is much more than just a place to keep your sticky notes. To your surprise, the Notes app can scan your documents too. Besides, this app can do checklists, add pictures and sketches, and much more.
With a couple of taps, you can get a well-scanned document ready to share. Here’s how to use the Notes app to scan your documents. Follow the process carefully and get the scanning done in a few seconds.

- Unlock your device and open the Notes app on your iPhone or iPad.
- Tap the Plus icon and start creating a new note. Alternatively, you can also open the existing one to add a document.
- Move to the bottom of the screen and select the Camera button.
- There, you must tap the Scan Documents option.
- Line up the documents you want to scan. If it doesn’t start scanning automatically, it’s recommended to click the shutter button to begin the process.
- Finally, click the Save button once the scanning of all documents is completed. The button will keep the count of how many pages you have scanned, thus eliminating the hassle of counting them manually.
- All the scanned documents will be added in a new note. You can now further edit these documents by inserting images or text if necessary. The best thing about using iPhone’s Notes app to scan documents is its ease of use. The documents will be saved securely and work exactly the same way as other notes.
Using iPhone’s Files App
We bet most of you have no idea about using the iPhone’s Files app as a scanner. It is a kind of hidden scanner in your iPhone that lets you scan documents with a swipe of your fingertips, thus eliminating the need to install third-party software.
But while scanning the documents with the Files app is simple, locating this feature surely isn’t. Hence, stick to the guidelines below and get the scanning done effortlessly. Here’s how to do so.
- Open the app drawer on your iPhone or iPad and locate the Files app. Click to launch it.
- Select the Shared or Browse tab available at the bottom left corner.
- Move to the top-right corner and select a three-dot button to expand the menu. Tap on the Scan Documents option to launch the camera.
- Place the document you want to scan appropriately, and your device will automatically begin the scanning process. If it isn’t, feel free to tap the Shutter button.
- As soon as the document gets captured, you can move further to make necessary adjustments, including adding filters, cropping the image, and rotating by using the menu at the bottom of the screen.
- Once you are satisfied with the changes, tap the Done button.
- Finally, locate the Save option at the top right corner and select a location to save the scanned document. And the process completes here.
Using third-party apps
Not satisfied with the Notes and Files app and looking for other ways to scan your documents on your iPhone? Turn to third-party scanners and get the job done in little or no time.
The internet is laced with tons of document-scanning applications, including Adobe Scanner, Swift Scan, Microsoft Office Lens, and many more to count. Pick any of these apps and begin the document scanning right away.
Here’s a quick rundown of our best picks. Scroll down and get started.
Cam Scanner
It is by far the most popular app to turn your iPhone into a prominent scanner. The app lets your device recognize text automatically, thus enhancing productivity. Get this scanner app installed for free to instantly scan, save, and share documents in multiple formats.
Cam Scanner is no less than a staple app for students, accountants, lawyers, or anyone involved in constant scanning. The best thing – it can scan everything you need, including paper notes, contracts, fax papers, and whatever you can imagine.
Adobe Scanner
How could we forget to mention the best-in-class option? Adobe Scanner is one of the leading choices of users and is known for its vast capabilities. Here’s how you can use Adobe Scanner to scan documents on your iPhone.
- Open the App Store and tap the Get button to install the Adobe Scanner on your device.
- Launch the app and use the slider menu above the capture button to initiate scanning.
- Put the document in the camera’s view and tap the Shutter button.
- As soon as the app scans the document, use the corner bubbles to adjust the size of the document.
- Finally, click Continue when you are done with adjustments. You can also preview the file before hitting the save button and make further changes, if required.
Microsoft Office Lens
The next best scanner that works on both iOS and Android is Microsoft Office Lens. It is quite similar to Adobe Scan, but is suitable if you are more accustomed to Microsoft software. Moreover, the software is free to use and is pretty much reliable.
Here’s how.
- Install the app and launch it on your iPhone or iPad.
- Go through the Introductory wizard and ensure to allow Camera access when prompted.
- Point your camera at the document and make sure it lies within the orange frame.
- The Lens will automatically scan the content and allow you to make further adjustments.
- Once done, select the file type and location where you wish to save the document.
Conclusion
There you have it. Scanning documents on your iPhone isn’t rocket science, and you can easily carry out the process without seeking any external help. This guide has covered everything to make things simple for our readers. We hope you have enjoyed reading our write-up and found it worth your time. Besides scanning, you can also share and edit your scanned documents with a few simple clicks. Once you’ve mastered this technique, you can easily make your digital experiences simple and worthwhile.