
Stolen Device Protection is a new security feature introduced in iOS 17.3 that helps protect your iPhone and personal data if your device is ever lost or stolen. When enabled, it adds extra authentication requirements and security delays to prevent unauthorized access. Since the feature is new, many is users are not aware of this feature and here we are going to share how you can turn on stolen device protection on iPhone.
What is Stolen Device Protection
Stolen Device Protection is designed to provide additional security for your iPhone when it is away from familiar locations like your home or workplace. If enabled when your device is lost or stolen, it can:
- Require Face ID or Touch ID authentication for accessing sensitive info like passwords and credit cards stored on your iPhone.
- Add a security delay if someone tries to turn off Find My iPhone when not in a familiar location.
- Prevent turning off Stolen Device Protection quickly if in unfamiliar surroundings.
These safeguards make it much harder for thieves to gain access to personal data or disable security features on a stolen iPhone.
Prerequisites for Enabling Stolen Device Protection
Because Stolen Device Protection adds strict authentication requirements, you must meet the following prerequisites before it can be turned on:
- Your iPhone must be updated to iOS 17.3 or later. The feature is only available on iOS 17.3 and newer.
- Two-factor authentication must be enabled for your Apple ID account.
- You must set a device passcode for your iPhone.
- Face ID or Touch ID must be set up and enabled on your device.
- Find My iPhone must be turned on.
- Significant Locations (Location Services) must be enabled.
Meeting these requirements allows Stolen Device Protection to work properly by verifying your identity and device location.
Steps to Turn On Stolen Device Protection
Once you meet the prerequisites above, go through these steps to turn on Stolen Device Protection:
- Open the Settings app and tap “Face ID & Passcode” (or “Touch ID & Passcode” if your iPhone has a Home button).
- Enter your device passcode when prompted.
- Scroll down and tap the “Turn On Stolen Device Protection” toggle switch.
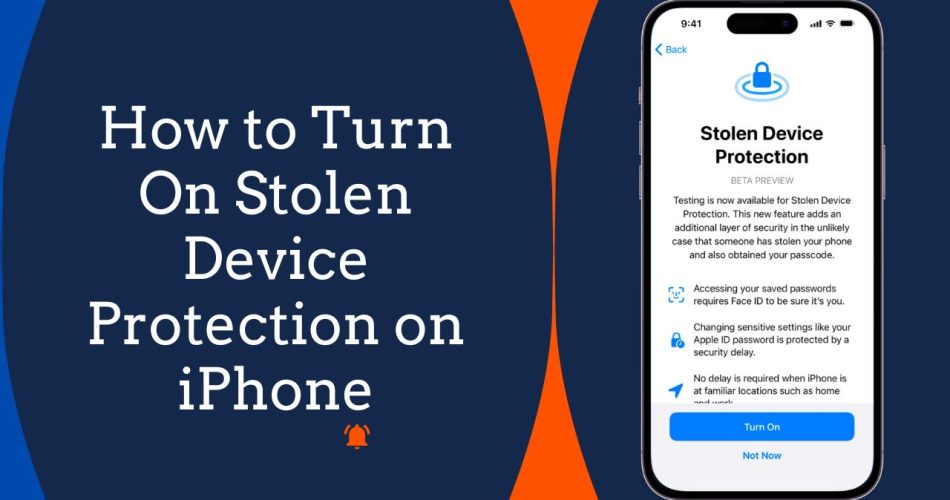
- Read the information presented about how the feature works.
- Tap “Turn On” on the confirmation screen to enable Stolen Device Protection.
- You will now see a confirmation that Stolen Device Protection has been activated.
That’s all there is to it! Your iPhone will now have enhanced security if it’s ever away from familiar locations.
With Stolen Device Protection enabled, you’ll notice extra authentication steps in certain situations where your location isn’t recognized. For instance, you may need to use Face ID or enter your passcode when accessing stored passwords or credit cards.
You’ll also experience security delays if attempting to turn off Find My iPhone or disable Stolen Device Protection when not in a familiar area. These safeguards prevent thieves from quickly compromising your iPhone’s security.
Conclusion
Stolen Device Protection provides important additional security for any iPhone user concerned about loss or theft. By following the steps to turn it on when running iOS 17.3 or later, you can have peace of mind that your personal data will remain protected even if your iPhone ends up missing. Just remember to turn off the feature before selling or trading in your device.