
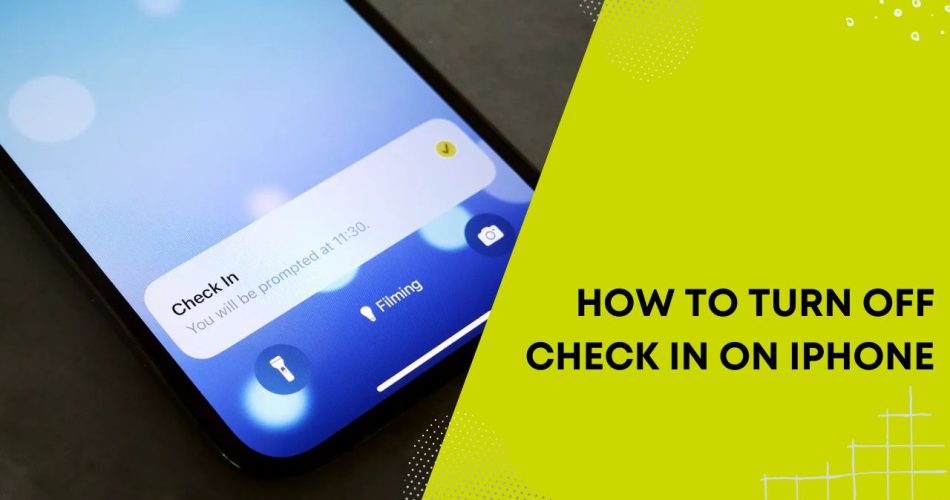
The Check In feature on iPhones running iOS 17 or later allows you to notify a friend or family member when you have arrived at your destination. It can be useful for letting loved ones know you reached your destination safely. However, you may want to turn off an active Check In for privacy reasons or if you no longer need the notification.
Cancel an Active Check In
If you have an active Check In that you want to cancel:
- Open the Messages app on your iPhone
- Open the conversation with the friend you sent the Check In to
- Tap on the Check In message
- Tap on “Details”
- Tap on “Cancel Check In” and confirm
This will immediately cancel the active Check In and notify your friend.
See More: How to Use Ymusic on iOS
Turn Off Ability to Receive Check In Notifications
If you no longer want to receive Check In notifications from friends and family:
- Go to Settings => Messages
- Turn off “Receive Check In Notifications”
This will prevent you from getting notified for future Check In messages, while still allowing you to send Check Ins yourself if desired.
Adjust Location Sharing Preferences
The Check In feature relies on Location Services on your iPhone to track your location and notify others. You can adjust what location details are shared when using Check In:
- Go to Settings => Privacy & Security => Location Services
- Scroll down and tap on System Services
- Tap on Significant Locations
- Choose options like “Clear History” to delete past location details
Adjust these settings to limit the amount of location data shared through Check In notifications.
Turn Off Location Services Entirely
To completely disable location tracking on your iPhone, including for Check In:
- Go to Settings => Privacy & Security
- Turn off Location Services
This will prevent all apps and system services like Check In from accessing your location details. However, many useful apps and features rely on location access, so only turn it off if absolutely necessary.